
Welcome to the course! Over the next 10 weeks, we will be exploring the world of software development from a product perspective. If you've ever wondered how a software developer/entrepreneur gets from "idea" to the finished product that people are able to use, we're going to be pulling back the curtain on the processes, technologies, and tools used to do so.
Course Structure
There is a tremendous amount of material covered in this course – the end-goal is to take a student who has done little to no software development before, and give them the ability to ship a software-based product by the end of the 10 weeks. To achieve this goal in such a compressed timeline, each week of this course will be broken down into the following:
- 3 40-60 minute units, with a 5-10 minute break in-between
- A typical unit will consist of some lecture, some hands-on demonstrations, and some lab exercises
- Practice exercises or a graded assignment to work on at home between classes
Getting Started – AKA stuff to do before the first class
There are three primary tools we will need to set up before the first class session, so we can hit the ground running:
- A Web Browser. We'll be using Google Chrome. We like Chrome for its fast and consistent performance, and its built-in Developer Tools.
- Git and Github. Git is a technology that professional developers use to store their code and share it with others. GitHub is a company that provides a popular hosted Git service. If you are familiar with Dropbox, you can think of GitHub as "Dropbox for code files."
- A Development Environment. The "development environment" is just a fancy way of saying "all the stuff needed to build software". In the context of this course, this means – a computer, operating system, command-line interface, and code editor (something to edit code files). Professional developers often have their own personalized setups for all of this, but in this class, we'll be doing it all in the cloud, with a tool called Github Codespaces.
Step 1: Download and Install Google Chrome
Maybe you're already using Chrome to watch cat videos. If not, go get it: https://www.google.com/chrome.
Step 2: GitHub
Sign up for a free GitHub account at the GitHub website. IMPORTANT: please use your Kellogg email address to sign-up.* You'll be using your GitHub account for lots of things in class – including turning in your homework and doing lab work in class – so keep your account information handy at all times.
* If you already have a Github account with a different email address, you'll need to add your Kellogg email address in your Github settings, and then set it as your primary email.
Step 3: Github Codespaces
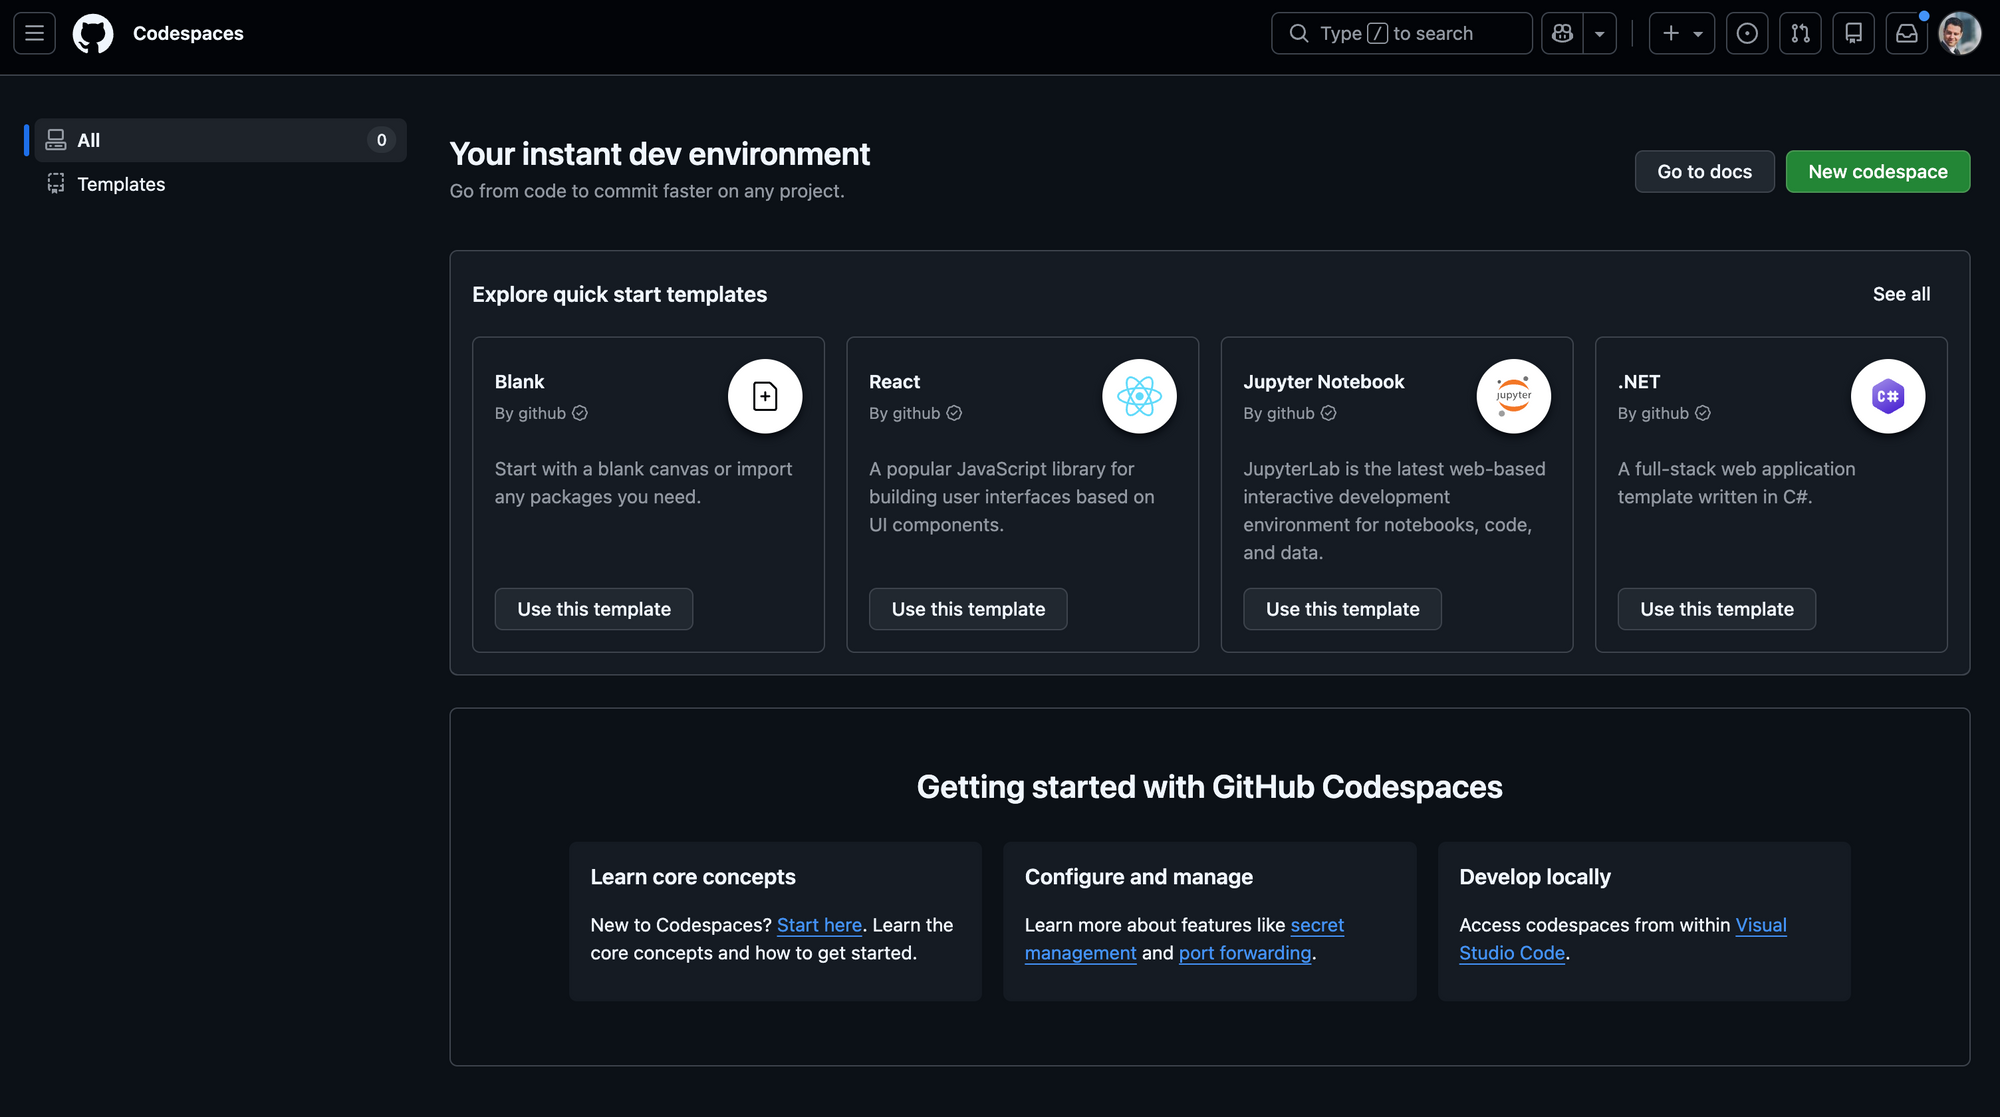
Go to the Codespaces website and click "Get started for free".
If you're not already logged in to your Github account, you'll first need to sign-in (you already created an account in Step 2).
Once you've authenticated, you'll see your Codespaces dashboard.
My hope is to keep you on a free tier for the entire quarter. But, depending on your usage, you may need to upgrade at some point - the paid tier (i.e. "Pro") costs $4/mo. I will provide tips to avoid this, but access to Codespaces is required for the course, so be prepared to upgrade if needed. Once the course is over, you can choose to downgrade/cancel at any time.
Course Resources
ENTR-451 on GitHub
Our course GitHub page will be the main resource for all the code we'll be writing in the course. Find it at github.com/entr451-spring2026.
You won't see anything there yet, but we'll begin most exercises and assignments on Github, so it's worth bookmarking.
Slack
We will be using Slack for all communication, inside and outside of class. In class, you'll use Slack to post questions and get help from Faculty Associates and Professors. Outside of class, we'll use Slack for collaborating on lab exercises and homework assignments, and general questions/conversation.
We have our own Slack channel (not part of Kellogg/Northwestern's Slack). Access it via:
Important: You will need to first create an account. To do so, click the "Create an account" link in the top right and use your Kellogg email address to signup. Once you signup and login, you'll be dropped into the default #spring-2026 channel. Say hi!
Canvas
Every week, links to resources, slides, and code will be posted to the course Canvas page. You will find the content in the Announcements and Assignments tabs.
That's it! You're ready. See you in class!