Complete the "travel journal" app with user security, frontend styling, a file attachment, and deploy it live.
Guidelines
- Use this repository as a template for your own
hw4repository in your GitHub account. - The models (and associations) and database migrations have already been provided. Upon opening your workspace, run
rails db:setupto create the database. Then, have a look at the model and migration files to see how the database is structured. - Code the application per the requirements below, committing and syncing often.
- Submit your assignment via Canvas, using the address for your repository (i.e. https://github.com/<YOUR GITHUB USERNAME>/hw4) as the "Website URL".
User Stories
For this assignment, we are taking the previous assignment which was just for your personal use, and modifying it to allow for multiple users. Some aspects of the user stories below are already complete.
- As a non-logged-in user, I want to see "Login" and "Signup" links.
- As a non-logged-in user, I want to login with my email and password and be redirected to the "Places" page.
- As a non-logged-in user, I want to be redirected to the login page if I don't provide the correct email and password combination.
- As a user, I want to see my username so I can feel confident that I am logged in.
- As a user, I want to be logged out when I click "Logout" and be redirected to the login page.
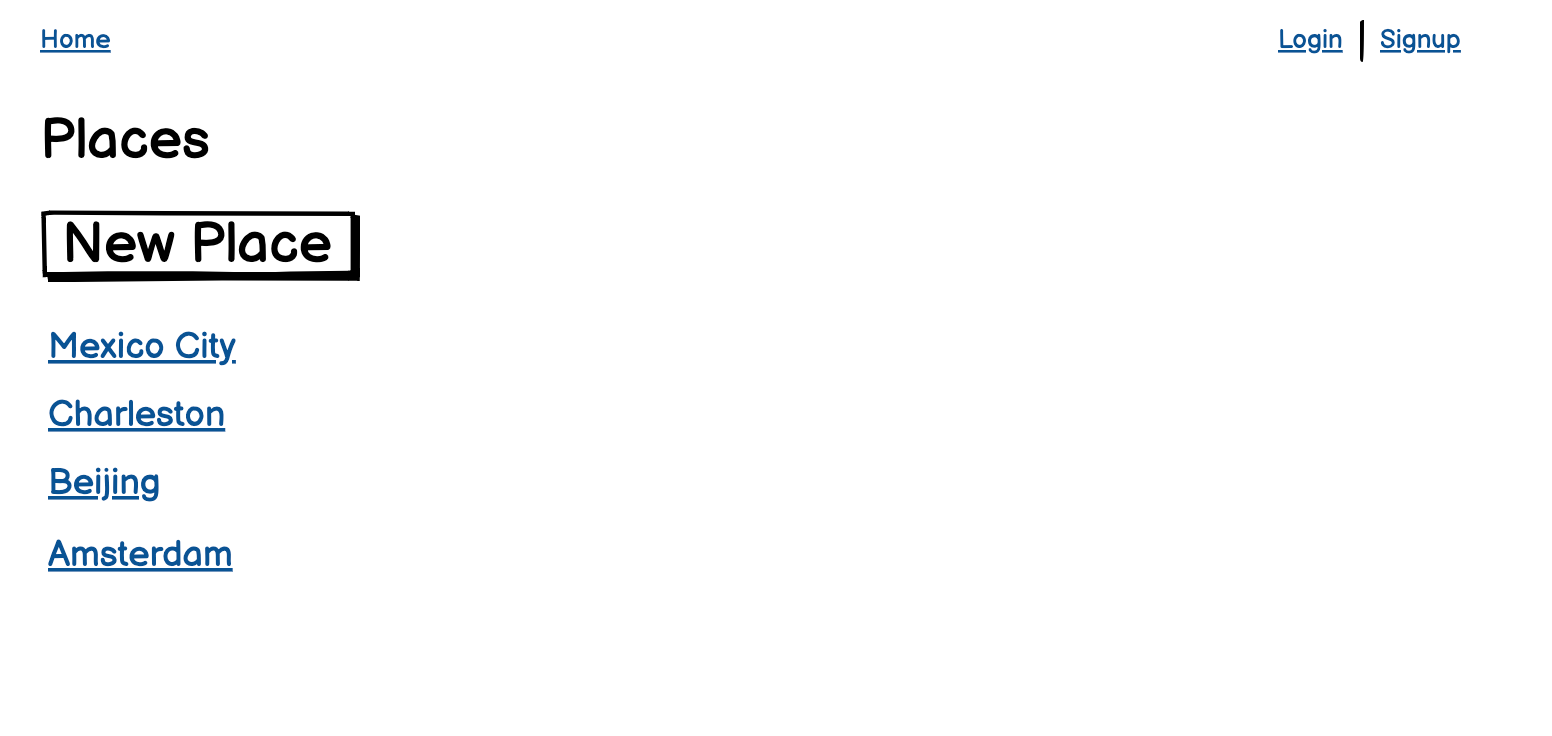
- As a user, I want to see a list of places.
- As a user, I want to be able to add a new place.
- As a user, I want to create a log of things I did (entries) when I visited each place, so I can remember the things I did there.
- As a user, I want each log entry to have a title, long description, occurred on date, and optional image, so I can summarize the entry for easy reference, write a long entry about my experiences, and know when it happened. Note: optional image will be addressed in week 10.
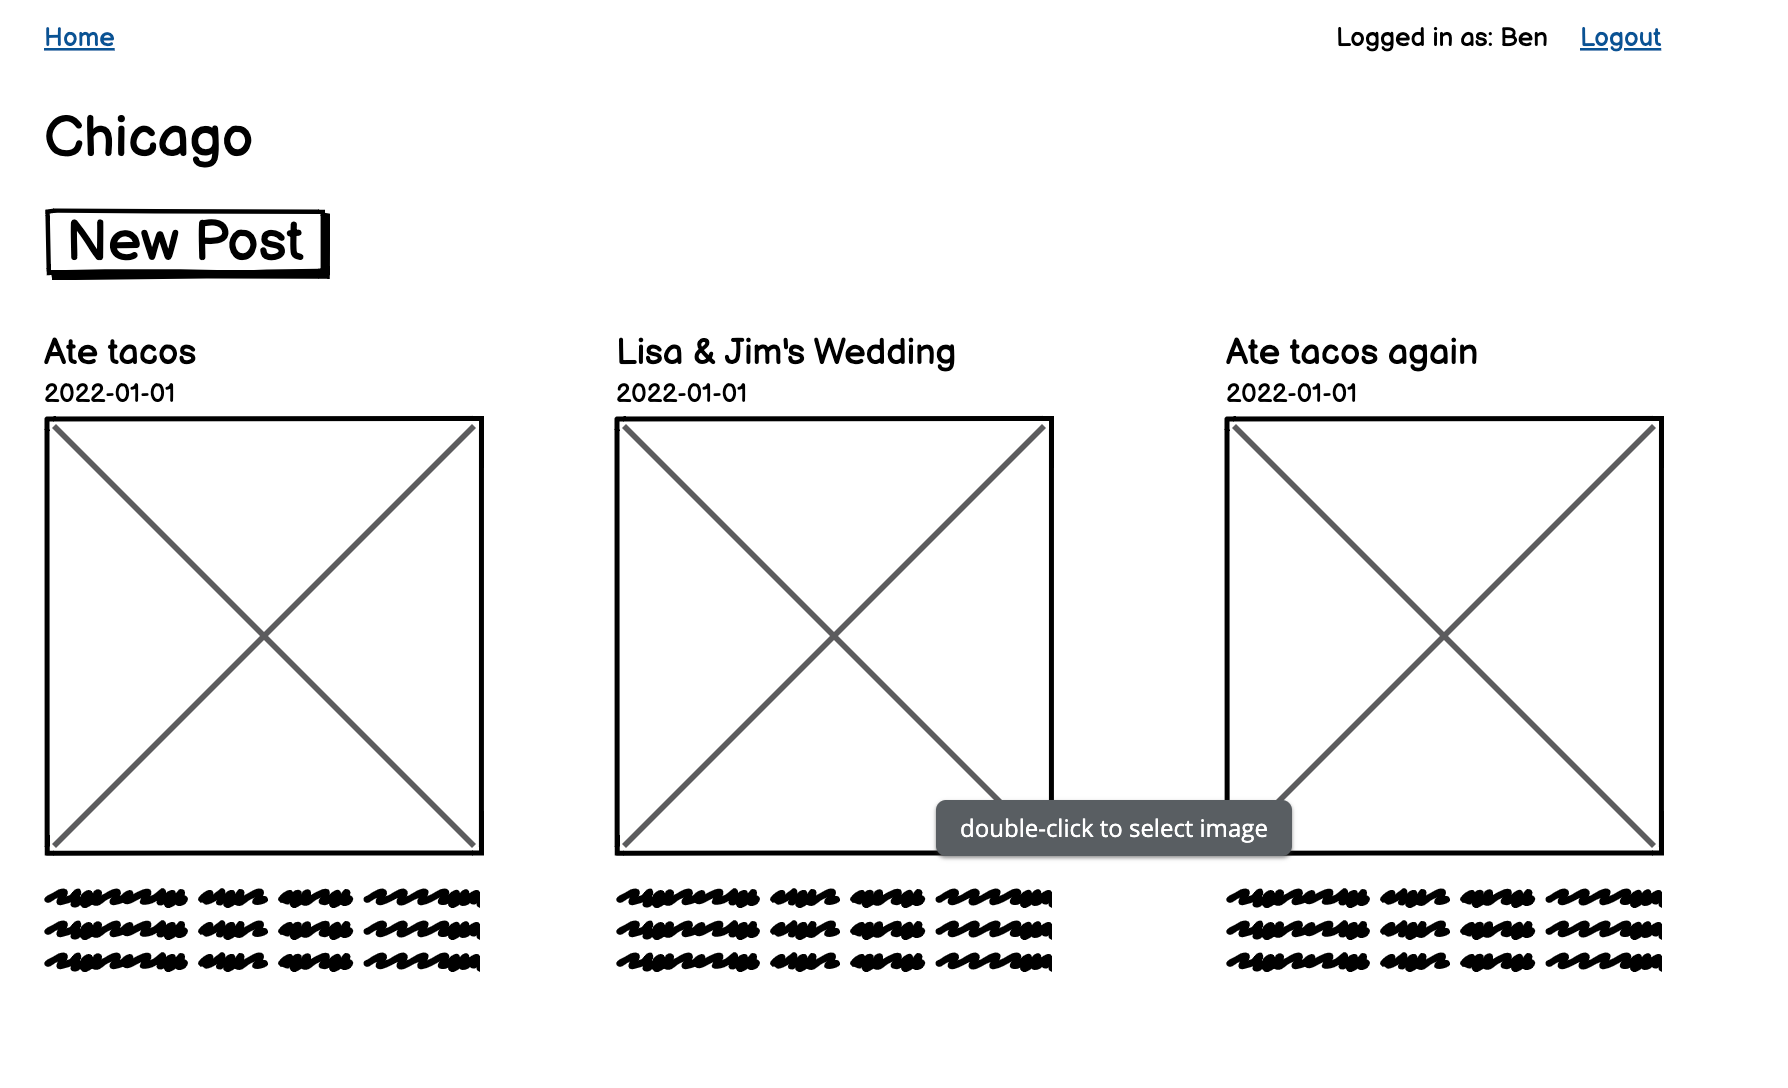
- As a user, I want to be able to click on a place and see the name of the place and all of the things I did there (my entries).
- As a user, I do not want to see any other users' entries.
Wireframes


Rubric (25 points)
- Implement all user stories
- (6 points) User Authentication
- When creating new users, save a 1-way encrypted hash of the password using Bcrypt.
- Complete the login form
- Secure data in transit - use the appropriate form input types when dealing with any password data.
- In the sessions controller, authenticate the user by email and password. If successful, "log them in" (i.e. assign the user's id to the session hash) and redirect to the places index. If unsuccessful, redirect back to login.
- Query for the logged-in user to conditionally show the login/signup links or a logout link (using the user's id in the session hash).
- In the sessions controller, "logout" a logged-in user (i.e. remove the user's id from the session hash) and redirect to login.
- (6 points) User Authorization
- Only show the new entry form to logged-in users.
- Assign new entries to the logged-in user.
- Only show entries created by the logged-in user. Hide all other users' entries. (Note: logged-out users should also not be able to see other users' entries).
- (6 points) Frontend with Bootstrap
- Install Bootstrap including both the
<link>(in the<head>before any custom stylesheets) and the<script>. - Add Bootstrap's navbar component (any version). Move the relevant links (e.g. "Home", "Login", "Signup", "Logout") into the navbar.
- Wrap all relevant content including
<%= yield %>in a Bootstrap.container(navbar is commonly excluded from the.container). - Using the Bootstrap button component, style all links to forms and all form submit buttons.
- Use the Bootstrap grid for entries (3 entries per row on larger screens, stacking on smaller screens). See wireframe.
- Use the bootstrap spacing (margin or padding) as needed, but at least twice (not counting the navbar).
- Install Bootstrap including both the
Additional Rubric Items:
- (4 points) File Attachment
- Follow the steps to add a file attachment to the posts (https://entr451.com/file-attachments/)
- As an example, check out the specific code changes made in the final version of our Tacogram application
- (3 points) Deployment
- Follow the steps to connect to Render and deploy your app (https://entr451.com/deployment-with-render/)
- Once live, add your live Render URL in the README.md file of your app
Using External Resources
- You are welcome to use external resources for help with the assignment (including colleagues, AI, internet search, etc). However, the solution you submit must utilize the skills and strategies covered in class. Alternate solutions which do not demonstrate an understanding of the approaches used in class will receive significant deductions. Any concern should be raised with faculty prior to the due date.
Hints
- You may at some point want to delete your data and start fresh. To do so, first be sure that you are logged-out (if you are logged in as a user and that user gets deleted, you will run into errors). Once logged-out, you can stop you server and run the following command from your terminal:
rails db:reset. This will drop your databases and tables, and then recreate them all. - If helpful, you can see all your data in tabular format by stopping your server and running the following command from your terminal:
rails runner scripts/show_data.rb
Hints for Additional Rubric Items
- Once you deploy to Render, test everything to be sure it still works as expected (i.e. be your own QA tester). If you check back a few days later, you may notice that uploaded images have disappeared. That doesn't mean anything is broken - if it uploaded correctly in the first place, then the functionality works. Render will occasionally clear uploaded files from its servers. This is 1 reason why we should really be using an external storage service like AWS S3 in production. However, for the purposes of your assignment, the :local storage service is fine. We can still test that everything works as expected.