What is Twilio?
Twilio is a SaaS (Software as a Service) platform offering programmable telephony services. Twilio allows software developers to programmatically make and receive phone calls, send and receive text messages, and perform other communication functions using its web service APIs.
Initial Setup
First, you'll need to signup for a free Twilio account. Go to twilio.com and click "Signup". You'll enter your name, email, and password. Afterwards, you will need to verify your email address and your cell phone number.
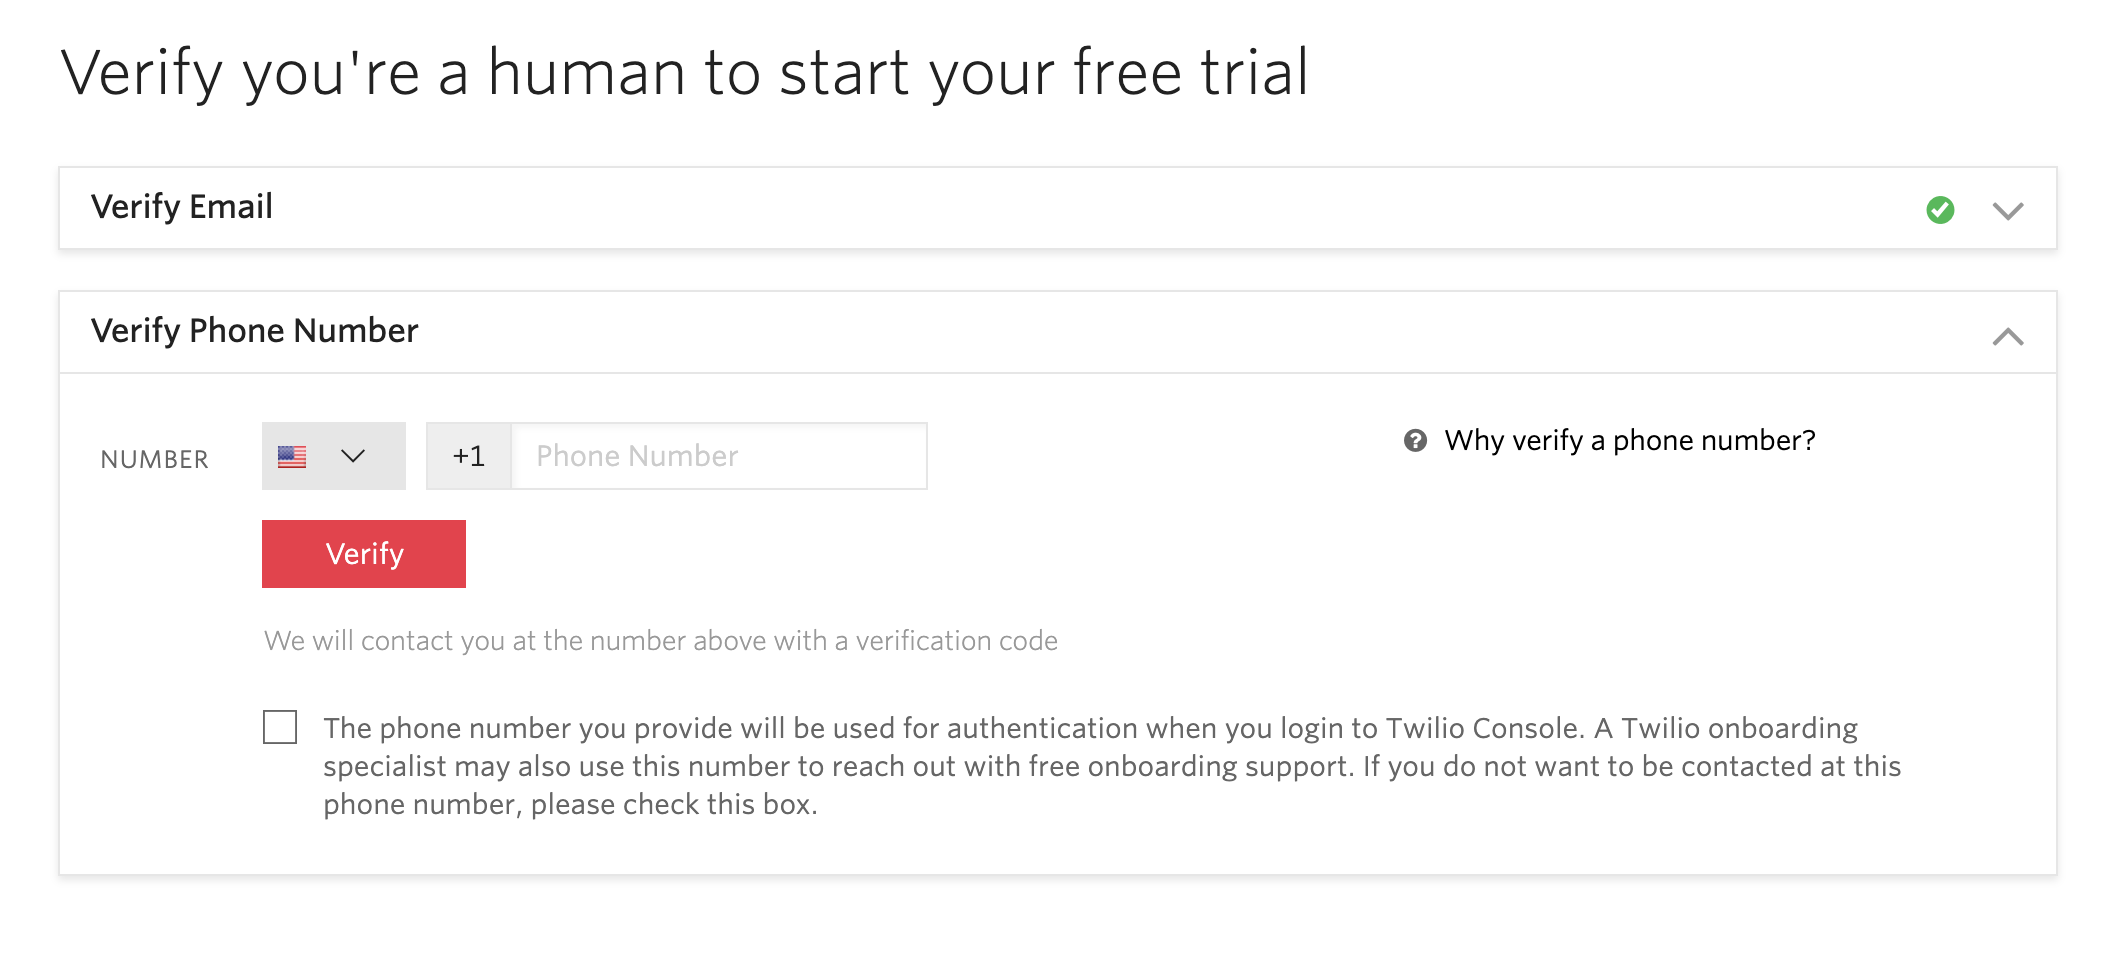
During verification, you will receive a text message with a 6-digit verification code (you can request a phone call instead). Afterwards, you'll be asked a series of questions about how you intend to use Twilio, beginning with "Do you write code?" and in what language. Yes, you code!!! (And in Ruby). There are a few additional questions, but feel free to click "Skip to Dashboard".
Ok, up next, you need to get a free trial number to send messages from. You should be on your dashboard at this point. Click "Get a Trial Number".
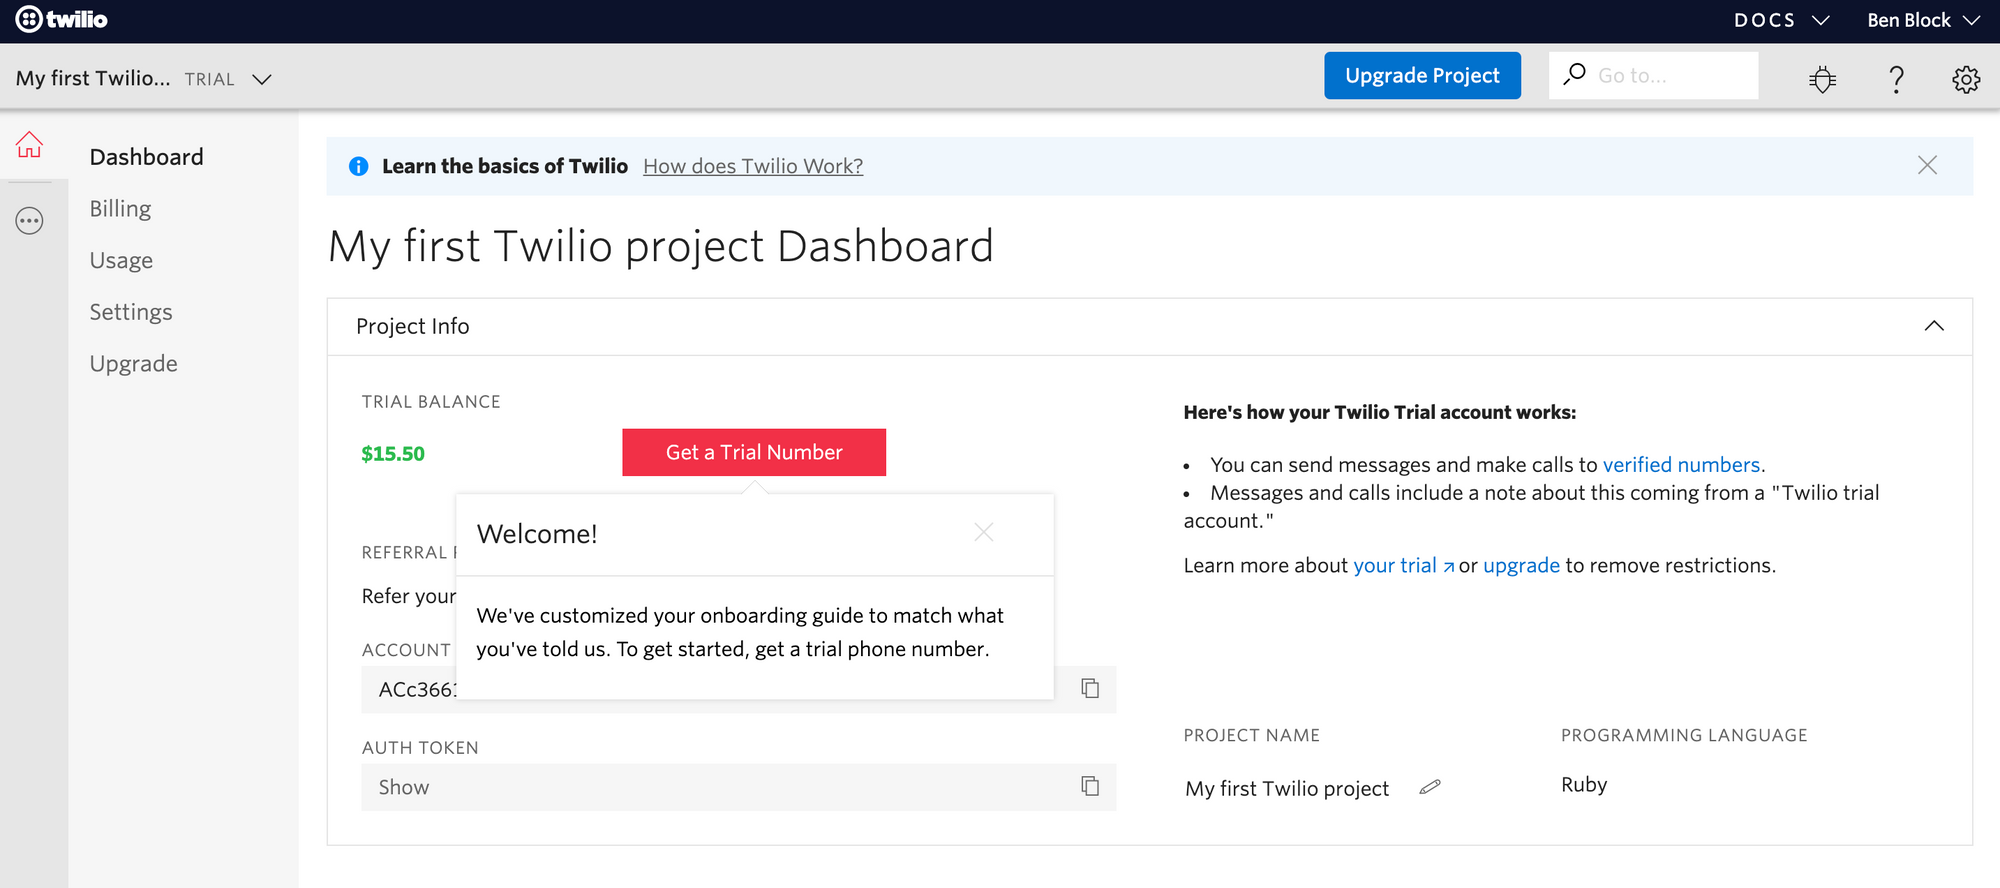
Twilio gives you a starting balance to play with, so the number will be free. You'll see the number Twilio suggests to you. You're able to change it to a number with a specific area code and/or numeric pattern. But, for now, just click "Choose this Number" and then "Done".
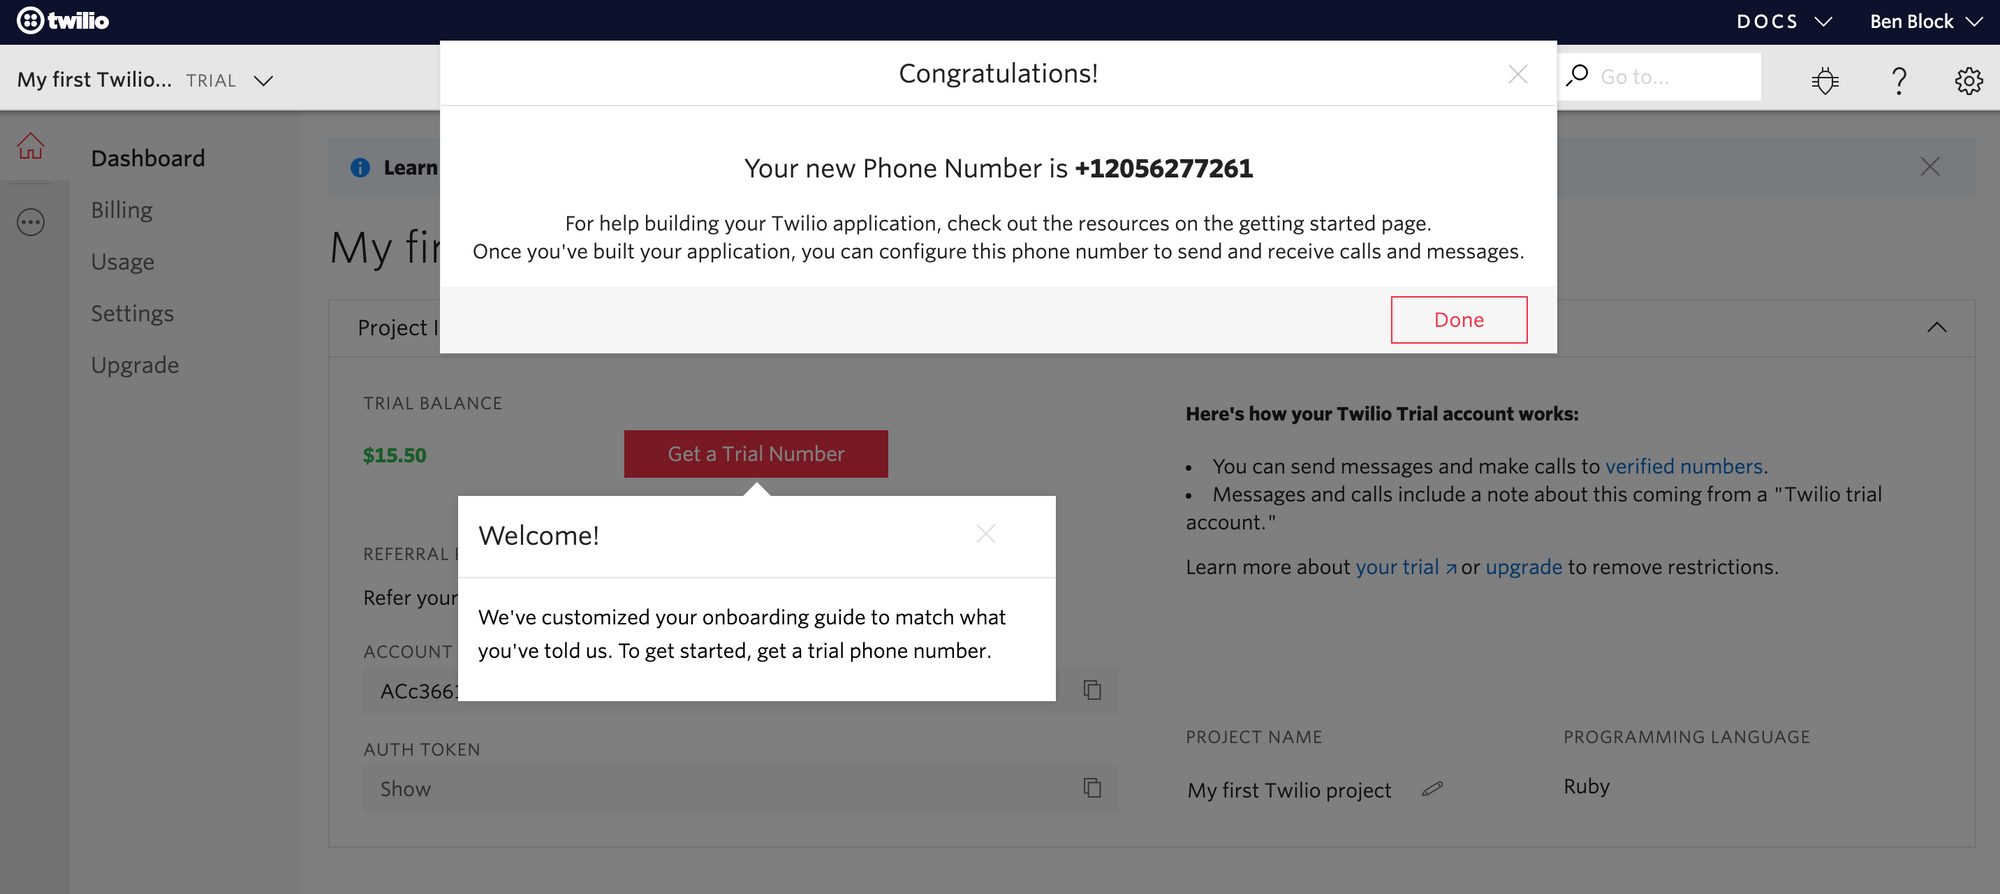
If all goes well, you'll be back on your dashboard and see your new Twilio number. Finally, it's time to code!
Adding the Twilio Ruby Library
Twilio has a ruby library that makes the API integration really easy. In order to use it, you add the following line of code into your Gemfile.
gem "twilio-ruby"Be sure this is not inside of one of the development or test groups - this library is needed in all environments (especially production).
Once you've added that code, you'll need to tell your application to install this library by running bundle install from your terminal.
Twilio API Credentials
Next, you'll need your Twilio API credentials. You can find your credentials on your dashboard.
You'll need to add those credentials as environment variables to Gitpod (and later to Heroku). Follow these steps before moving on.
Once you've set up your API credentials per the steps above, whenever you need access to those credentials in your code, you can do so this way:
twilio_account_sid = ENV["TWILIO_ACCOUNT_SID"]
twilio_auth_token = ENV["TWILIO_AUTH_TOKEN"]
Ruby Code
Now that the setup is done, we can use the Twilio library and our API credentials to send a text message (along with other Twilio functionality).
You can trigger a text message from anywhere in your code - you just need to know the number you want to send it to. For example, let's say we want to send a welcome text to a user when they successfully complete signup in our application.
There's probably a users_controller.rb with a create action that saves a new user to our database. To send the user a text message, we'll need to know their cell phone, so let's assume the users table has a phone column and the users/new.html.erb form requires that field. The controller code then looks something like this:
class UsersController < ApplicationController
  def new
  end

  def create
    @user = User.new
    @user["first_name"] = params["first_name"]
    @user["last_name"] = params["last_name"]
    @user["email"] = params["email"]
    @user["password"] = BCrypt::Password.create(params["password"])
    @user["phone"] = params["phone"]
    @user.save
    redirect_to "/posts"
  end
end
So between the save and the redirect, we want to send a text message.
For the first step, we'll use the Twilio credentials to connect to the Twilio API.
twilio_account_sid = ENV["TWILIO_ACCOUNT_SID"]
twilio_auth_token = ENV["TWILIO_AUTH_TOKEN"]
client = Twilio::REST::Client.new(twilio_account_sid, twilio_auth_token)
Twilio Free Trial
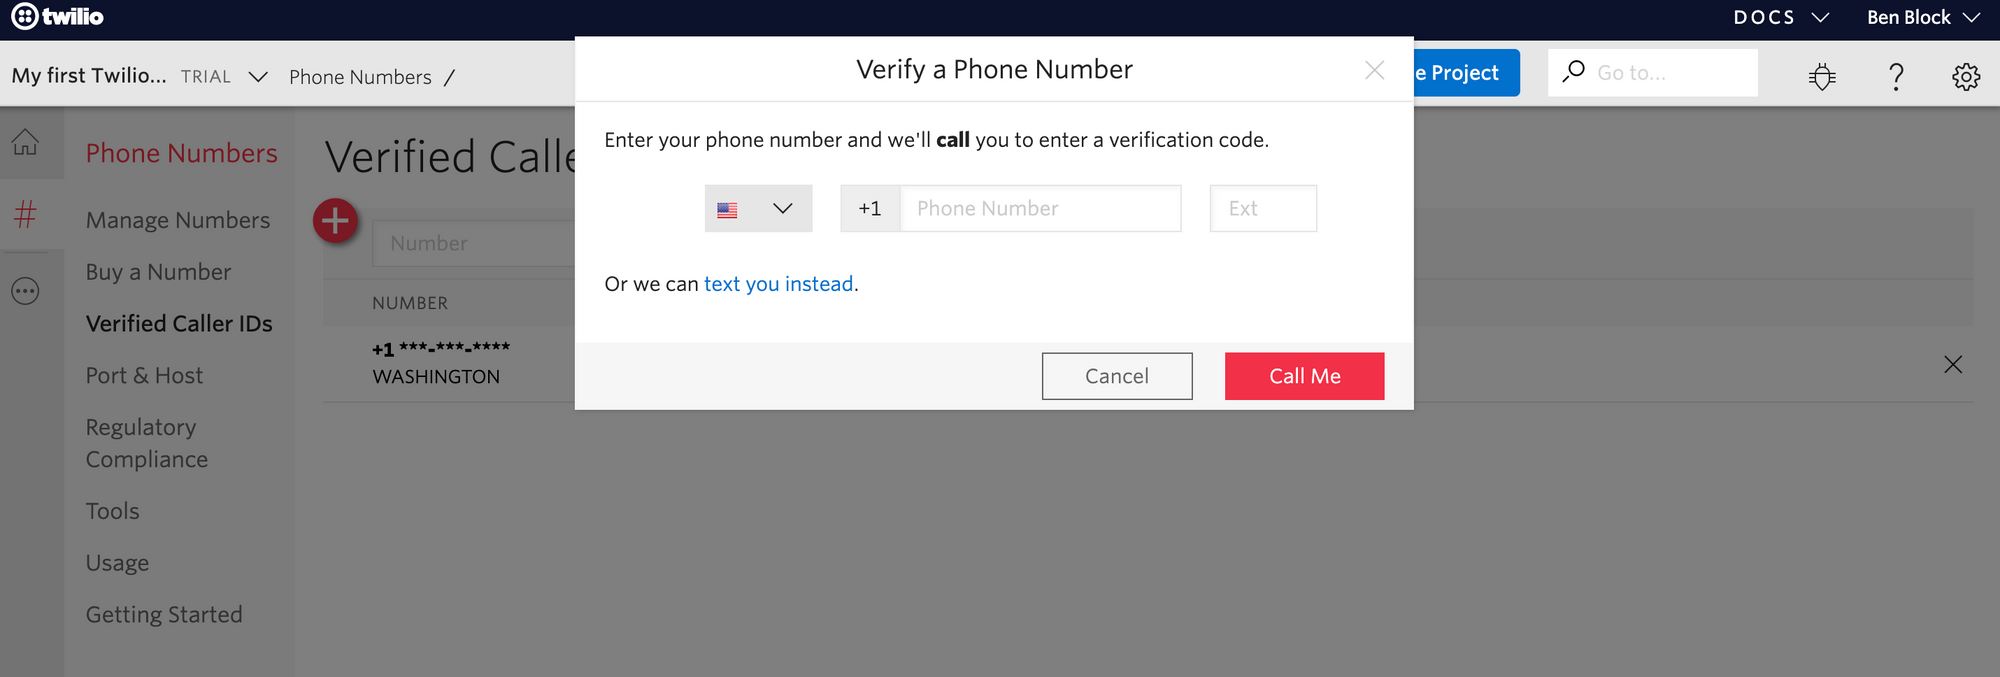
During your free trial with Twilio, you can only send messages to verified phone numbers. For now, that's your cell phone that you signed up with. If you'd like to verify additional numbers (like those of your teammates or friends who will be testing your application), you can do so here and click the "+" sign.
Once you the free trial period ends, you'll be able to text any user's number (not just verified numbers). We'll see below how this impacts the code.
Sending a text message
In the following code, the from is your Twilio trial number (the one on your Twilio dashboard). The to is the number that will receive the text. And the body is the message being sent.
The from and to numbers should use the E.164 format (i.e. [+][country code][number with area code] without any spaces or punctuation). There are many technical ways to ensure this format, but while you're getting things working, you can just assume the user has entered it correctly.
client.messages.create(
  from: "+11234567890",
  to: @user["phone"],
  body: "Hey, welcome to my application!"
)
The above code will send a message to the user's phone. However, this is when the verified numbers during the free trial period come into play.
Once everything is working and you're ready to start paying for real text messages to real users, you can use the above code. However, during the trial period, you should hardcode this number to be your number (or any of the verified numbers you've added to Twilio) so that only you or your team receive this text.
client.messages.create(
  from: "+11234567890",
  to: "+15555555555",
  body: "Hey, welcome to my application!"
)
Also, note that during the trial period, whatever message body you send will be prepended with "Sent from your Twilio trial account -".
Completed Code
All together it looks like this:
class UsersController < ApplicationController
  def new
  end

  def create
    @user = User.new
    @user["first_name"] = params["first_name"]
    @user["last_name"] = params["last_name"]
    @user["email"] = params["email"]
    @user["password"] = BCrypt::Password.create(params["password"])
    @user["phone"] = params["phone"]
    @user.save

    twilio_account_sid = ENV["TWILIO_ACCOUNT_SID"]
    twilio_auth_token = ENV["TWILIO_AUTH_TOKEN"]
    client = Twilio::REST::Client.new(twilio_account_sid, twilio_auth_token)
    client.messages.create(
        from: "+11234567890",
        to: "+15555555555",
        body: "Hey, welcome to my application!"
    )


    redirect_to "/posts"
  end
end
Don't forget to replace the to value with the user's phone when it's time to send real texts to real users!
And that's it.
There's a lot more you can do with the Twilio API. It's incredibly powerful. And hopefully a reminder that your application's backend code can do so much more than just expose a webpage.
This example is sending a text message on signup, but that is likely not your desired use case. So the last step is deciding where in your application a text message feature makes sense - and, therefore, where to put the code. We leave that to you...